
Crack jobs
The Jobs screen is where you launch a recovery attack against a set of hashes, watch it run across the cluster, and go back through everything that has run before. The header shows live counts of running and queued jobs.
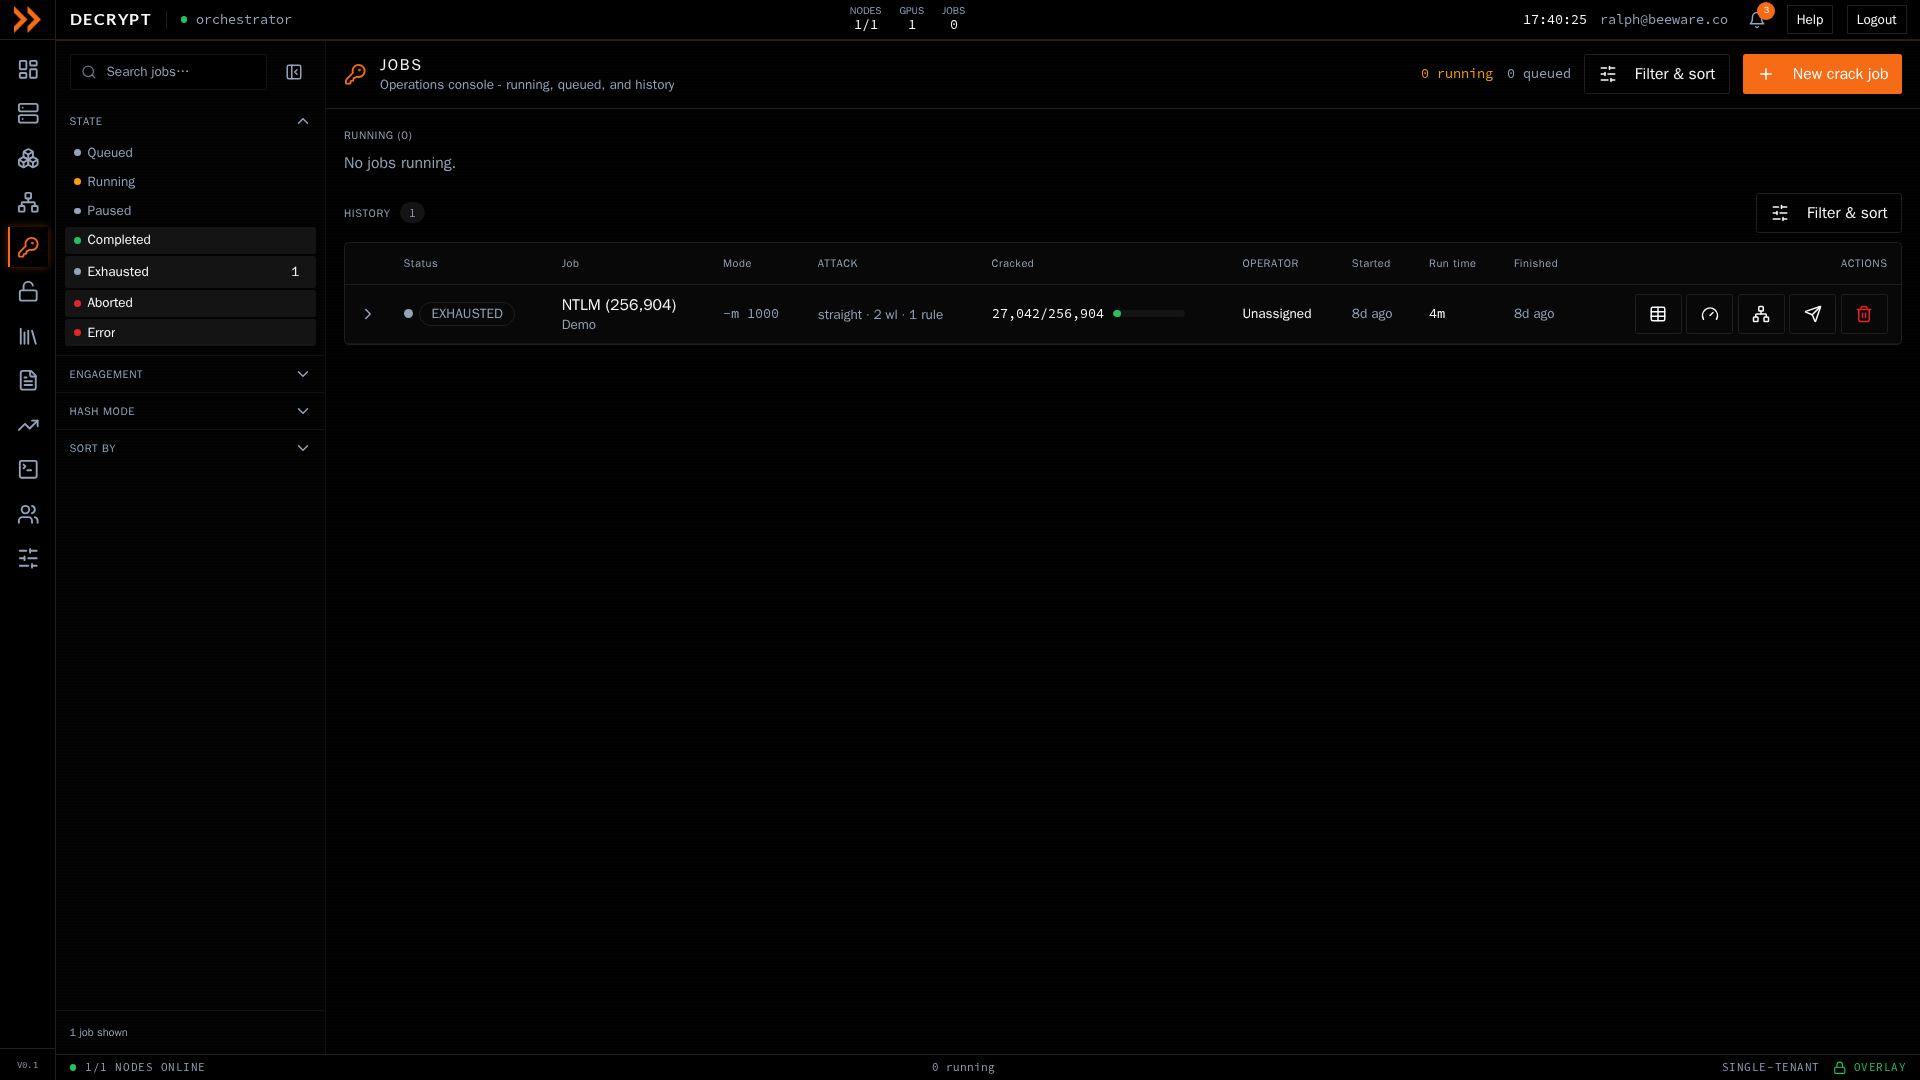
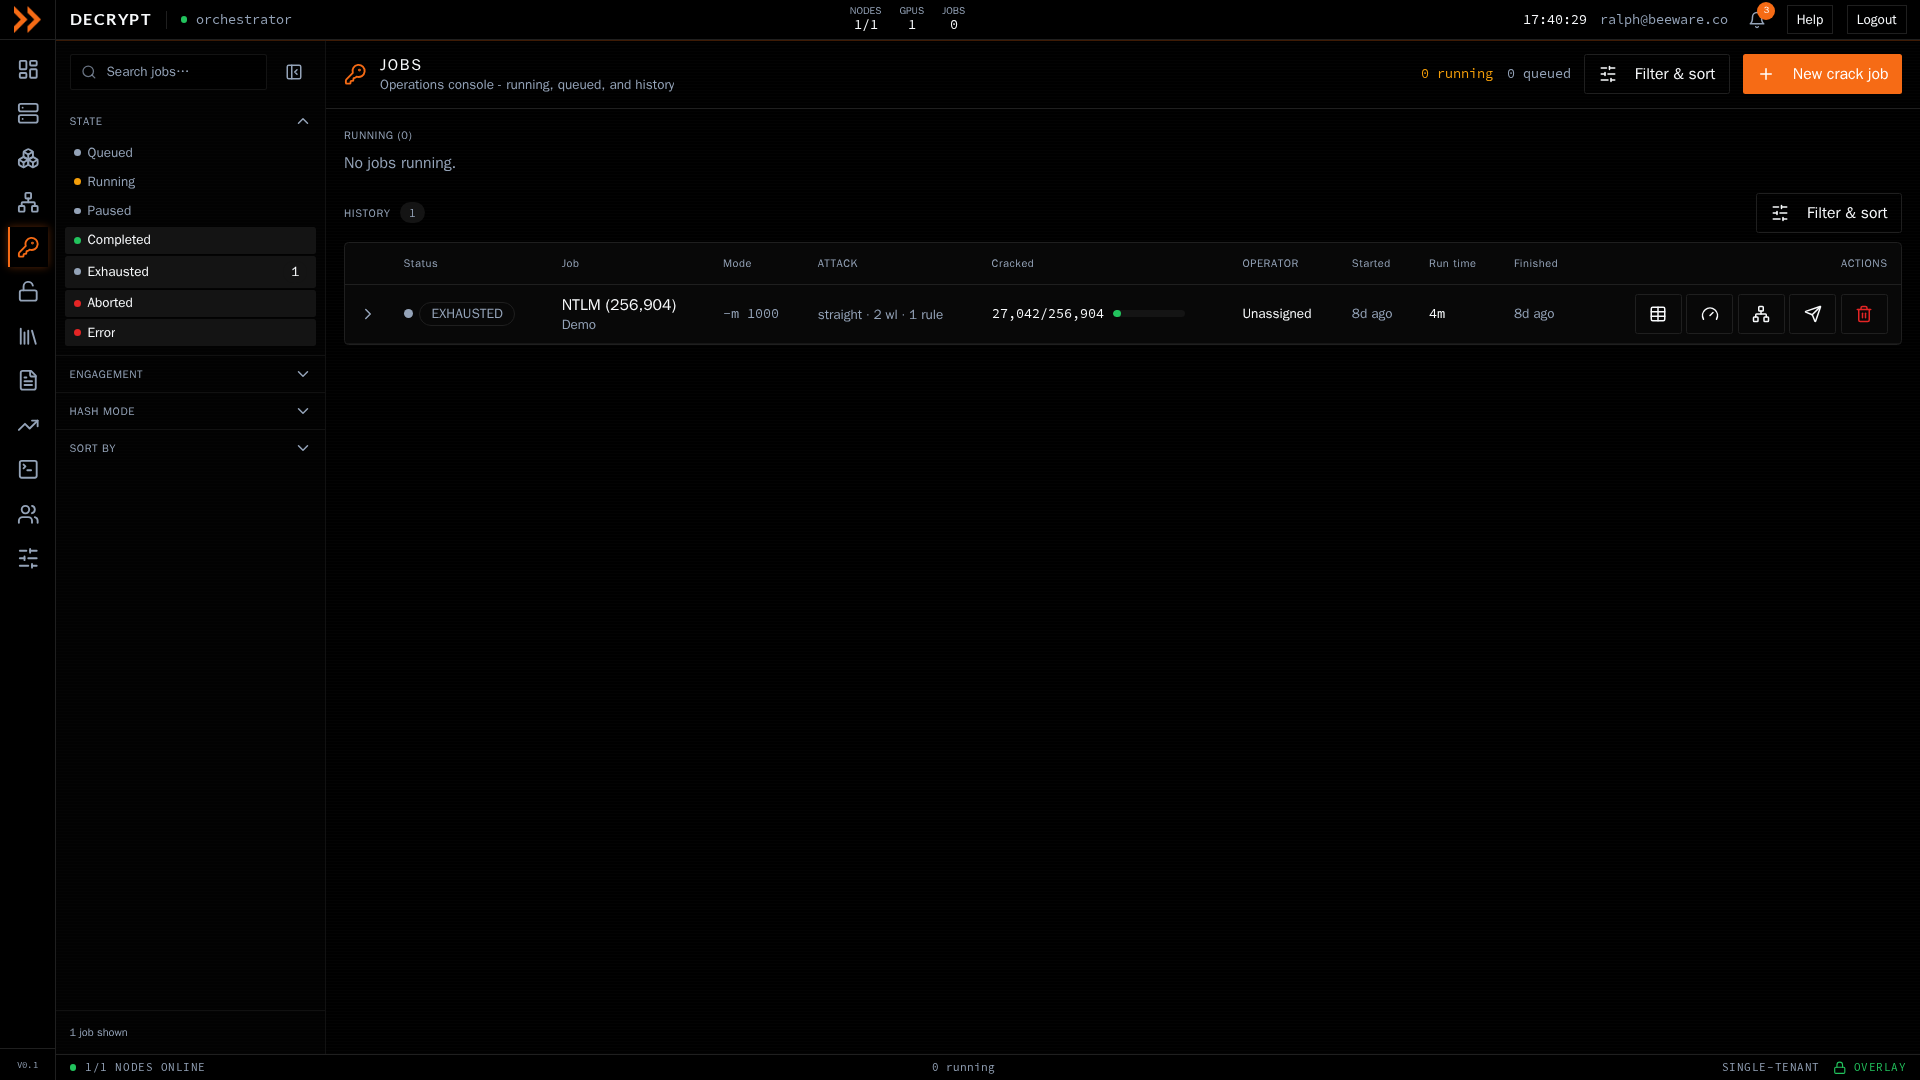
The Jobs console, with running jobs, the queue, and searchable history
The Jobs console, with running jobs, the queue, and searchable history
How the screen is laid out
Section titled “How the screen is laid out”- Running lists jobs that are executing right now, each with a progress bar, recovered count, ETA, elapsed time, and hashrate. Distributed jobs also show a per-rig chunk breakdown. A job on cloud GPUs also shows what it has spent and about what it will cost to finish; if its spend limit or time limit will stop it before the search is done, that line is highlighted, says how far through the search it gets, and offers Let it finish (see below).
- Queue lists jobs waiting to run, in priority order, with the operator, the assigned node, and any approval gate verdict.
- History is a searchable table of finished jobs. Columns cover status, job name and engagement, hash mode, attack type, cracked count, operator, and timing. Click any row to expand its full detail, including a GPU performance chart and re-run actions.
Use Filter & sort to open the left rail, where you can search jobs and filter by state, engagement, operator, and hash mode, then sort the results. Clearing the filters returns the history to finished jobs only.
Acting on a job
Section titled “Acting on a job”The buttons available depend on the job’s state:
| Action | What it does |
|---|---|
| Estimate | Ask the scheduler for a cost, time, and expected-cracks estimate before running |
| Run now | Dispatch a queued job to start immediately |
| Approve / Reject | Clear or deny a job that is waiting on the approval gate |
| Pause / Resume | Pause a running job at a checkpoint, or resume it from one |
| Stop | Terminate a running job |
| Let it finish | Keep a running cloud job going to the end, without adding GPUs, when its spend limit or wall clock would stop it first. The button says what it changes: it raises the spend limit to 15% over what the whole job costs at its current speed, extending the wall clock too if that would still stop it, or it only extends the wall clock when the spend limit already covers the job. The new limit must fit the engagement’s cloud spend cap (see below) |
| Cancel | Remove a job from the queue |
| Ask for more | Ask for a higher cloud spend cap for a queued cloud job its engagement cannot cover (see below) |
| Run again | Dispatch a finished job again with the same settings |
| Rerun with changes | Open the builder filled in from a finished job so you can adjust it and queue it as a new job (see below) |
| Delete | Permanently remove a job and everything recorded for it; it is stopped first if still running, and cannot be undone |
From a running job you can also open a live terminal to watch its output, and open the recovered credentials once it has cracked anything.
Building a crack job
Section titled “Building a crack job”Click New crack job in the top right to open the builder. It takes over the whole page and walks you from raw hashes to a queued attack in four numbered sections: Hashes, Engagement, Attack plan, and Where it runs. Each section folds to a one-line summary once it is done; click Change to reopen it. The This job column on the right states exactly what will be queued and keeps a live estimate as you go. Click Cancel, or the back arrow, to return to the job list.
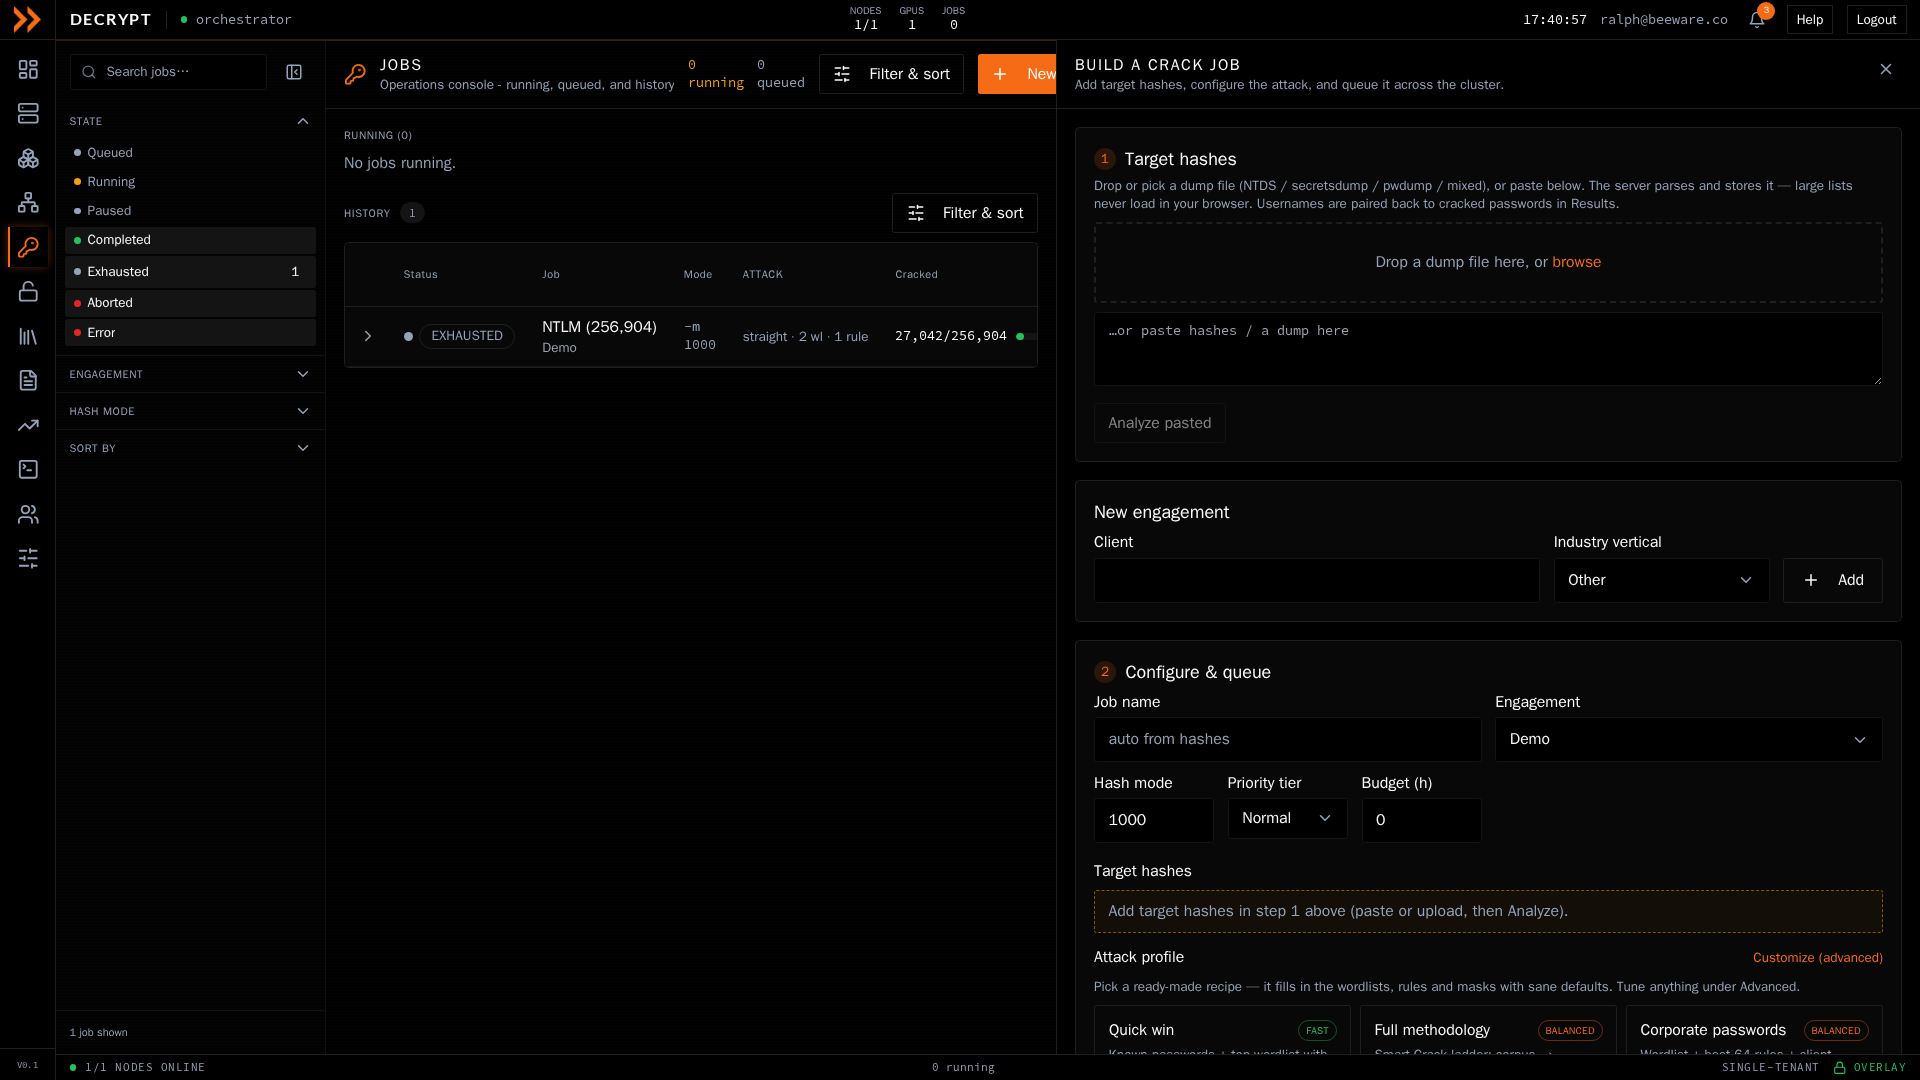
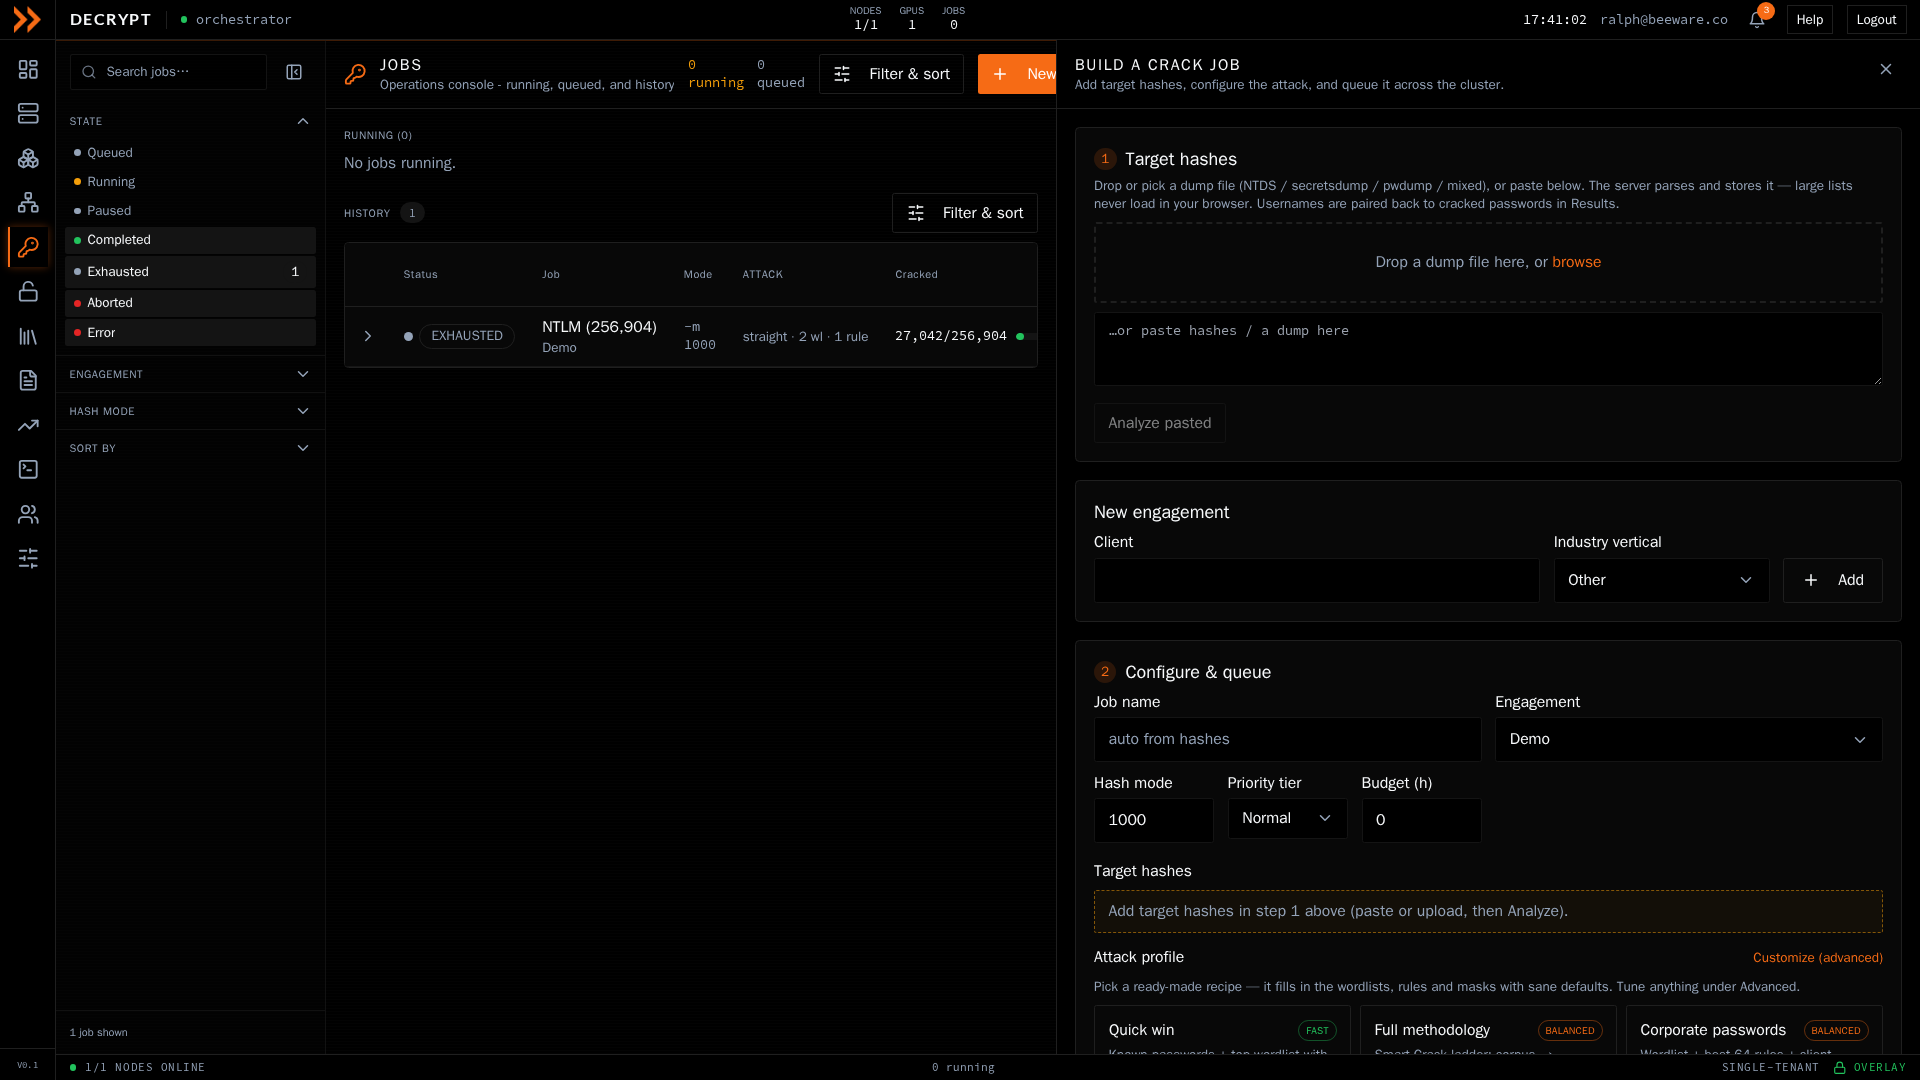
The crack-job builder, where you add hashes, pick an engagement, plan the attack, and choose where it runs
The crack-job builder, where you add hashes, pick an engagement, plan the attack, and choose where it runs
Hashes
Section titled “Hashes”Give the builder the hashes to attack. You can drag a dump file onto the drop zone, click browse to pick one, or paste hashes into the box below it and click Analyze pasted. The server parses the dump, so even very large lists never load in your browser. It handles common formats such as NTDS, secretsdump, pwdump, and mixed dumps.
The builder lists each hash type it detects, with its hashcat mode, how many unique hashes there are, and how many are already cracked. If the dump contains more than one type, pick which one to crack. Hashes that are already in the cluster potfile are marked cracked when the job is dispatched and are not attacked again. Usernames are paired back to their cracked passwords later, in Results.
Under Hash mode, the builder shows the hashcat mode the job will run, by name and number. Detection cannot tell every format apart, so if it picked the wrong one, click Change beside it. The builder lists its best guesses under Possible, and the search box finds any hashcat mode by number or by words in its name, such as 13100 or kerberos 23. Click a mode to use it. A mode number that is not in the list can still be used: type it and pick the option that offers it.
Hashes the builder does not recognise are listed as Unidentified, and the section stays open on the mode search. Pick their mode there; the job cannot be queued without one.
Job name is filled in from the hashes; change it if you want a clearer label.
Engagement
Section titled “Engagement”Every job belongs to an engagement (a client), and the passwords it recovers are scoped to that engagement. Type a client name under Find or create an engagement and pick the match from the list. If nothing matches, choose an Industry vertical and click the Create button, which carries the name you typed, to add the engagement on the spot.
Attack plan
Section titled “Attack plan”Rather than wiring up wordlists and rules by hand, pick a recipe under Start from a recipe, such as Quick win, Full methodology, or Corporate passwords. Each recipe carries a depth (Fast, Balanced, Deep, or Exhaustive) and a short description, and fills in sensible wordlists, rules, and masks. Profiles your team has saved appear alongside the built-in recipes, marked team.
A single attack shows as one step. Click Edit to change it:
- Attack mode - Straight (wordlist + rules), Mask / brute-force, either Hybrid mode, or Combinator (two wordlists).
- Wordlists - pick from the registry. Each shows how many rigs already have it.
- Rules - for straight attacks, stack hashcat rules from the cluster rule library, upload your own file with + Upload .rule, or paste a rule line and click Add inline. Stacked rules multiply, so watch the estimate.
- Mask - for mask and hybrid modes, build a mask with the reference guide and presets shown in the panel.
- Custom hashcat args (advanced) - extra hashcat arguments for the attack.
To escalate through several attacks in one job, click Add a step after it, or pick Full methodology, which starts as a stepped plan. The steps run in order, and each one gets only the hashes the earlier steps left. Every step shows its estimated time, and you can add, edit, reorder, or remove steps. Reset to Full methodology restores the default steps, and Back to a single attack returns to one attack.
Below the attack, Include house corpus, Include client permutations, and Optimized kernel (-O) add the shared corpus, add candidates built from the client name, and use hashcat’s optimized kernels. The house corpus is not available on cloud GPUs, because a rented GPU starts with an empty one.
If your role can manage jobs, Save this setup as a team profile saves the current configuration for your team to reuse. Name it and click Save profile.
Where it runs
Section titled “Where it runs”Choose where the job runs:
- On-prem runs on your own rigs, with no rental cost.
- Cloud rents GPUs on vast.ai for this job and destroys them when it finishes or a limit trips. A host that stalls or underperforms is replaced automatically.
- Both shares the work between your rigs and the rented GPUs.
A cloud job needs a Goal:
- Finish by a time - set Finish within (minutes) or pick a preset, and the builder works out how many GPUs to rent and what the whole job costs. You do not have to guess a spend limit: it is set to the quoted total plus 15%, in case the hosts run slower than measured.
- Spend at most - set a dollar cap under Spend at most ($) and a number of GPUs, and the builder shows how much of the search that buys before the cap stops the job, and what the whole search would cost. Choose this only when you mean to search part of the keyspace.
Then pick the Cloud GPU model and a Max $/hr per GPU. Click Check rates to see current market offers and the price you need for the number of GPUs you want; the builder can offer to set your price cap to match. Renting more GPUs shortens the wall-clock time but does not change the total bill, which is set by the amount of work.
Every job also has a Priority (Low, Normal, High, Urgent, or Critical, capped to what your role allows) and a Stop after limit: No limit, 8 h, 24 h, or your own number of hours. Stop after is a wall-clock limit for the whole job, wherever it runs.
The job summary
Section titled “The job summary”The This job column leads with the two numbers you decide a job on: Finishes in and Total cost. They come from a forecast the server works out from your wordlists and rules, the number of salts, and the speed of your rigs and of the cloud GPUs this deployment has rented before, and they are what a cloud job is approved and rented on. A line underneath says what the forecast rests on: how many GPUs and how fast each one is, the GPU-hours and the price per GPU-hour, and how long each rented host takes to start. When the hash list has been benchmarked on that GPU model, the line says the speed comes from the list’s own hashes (see below). A GPU speed taken from the reference table, rather than measured on this deployment’s own rentals, is labelled as such, so treat that time as rough. Salted hashes take longer, because every guess is hashed once per salt, and the summary says so when yours are salted.
If part of the attack cannot be counted in advance, such as the house corpus or client permutations, the summary says what was left out. If none of it can, it says why and shows the builder’s rough estimate instead.
If the spend limit pays for only part of the search, the summary says how much, and the Raise the cap to button, which carries a suggested amount, sets a limit that covers all of it. For a cloud job, The same search on more GPUs lists the time and cost for each number of GPUs you can rent. The work is fixed, so more GPUs finish sooner for about the same money. Click one to use it.
For a cloud job, the summary also says how much of the engagement’s cloud spend cap is left and how much this job reserves. If the job needs more than is left, you can still queue it; it waits without renting until the cap is raised. The button underneath, such as Ask for $40.00 more, asks for the amount the job is short of (see Engagement cloud spend caps).
Below that, the column describes the job in one sentence and shows Candidates, Speed, Hashes per guess, and GPU-hours. For a stepped plan, Where the time goes shows which steps take the most time. On your own rigs the speed starts from the benchmark for the hash mode, which does not include rule overhead, so click Measure this attack to run a short real-world speed test that includes your rules, or Benchmark for the raw mode speed. A stepped plan is sized step by step at the benchmark speed, so Measure this attack is not available for it.
The summary also tells you what the cracking policy will do with the job before you queue it: Runs automatically, Needs sign-off from a lead, or Will be blocked, with the reason. If there is not yet enough to estimate the runtime, it says the check runs when the job is dispatched.
Benchmarking the hash list
Section titled “Benchmarking the hash list”hashcat’s own speed figures come from a built-in sample hash at the format’s default cost. For an iterated format, such as a KeePass database or bcrypt, the real cost of your hashes can be far from that, so a forecast built on the sample can be far off, and a hash mode with no measured speed cannot be priced at all. For a job on Cloud or Both, the summary says whether the hash list has been benchmarked. Click Benchmark this hash to measure the list’s own hashes, so the time and cost come from their real speed:
- Under Where, choose A rented cloud GPU or One of this instance’s rigs.
- For a cloud GPU, pick the GPU model the job will run on, because a speed only prices jobs on the same model. Before anything is rented, the dialog shows about how long the benchmark takes, what it costs, and the most it can cost before the rental ends itself. For a rig, pick the Rig. A rig benchmark is free, but it is refused while the rig is running a job.
- Click Rent and measure, or Measure on rig.
The summary follows the benchmark while it rents, boots, and measures. Cancel stops a cloud benchmark and releases its GPU; the minutes it already ran are billed. When it finishes, the summary shows the speed per GPU and, when the gap is large, how much slower or faster the list runs than hashcat’s sample hash, and the forecast is worked out again. Results are kept, and a finished cloud benchmark prices every later cloud job on the same hash list and GPU model. Click Benchmark again to measure the list afresh.
A stopped cloud job that has no quote for the rest of its work shows the same Benchmark this hash button, so the rest can be priced. Every benchmark is listed in Settings, under Cluster benchmark.
Queue it
Section titled “Queue it”A short checklist confirms you have added hashes, picked an engagement, and have an attack ready. When all three are met, click Queue job; the button also shows the forecast time and cost. When there is a forecast, you are asked to confirm the total time and cost before anything is queued. For a cloud job the confirmation also names the GPUs it rents and what happens at the spend limit: if the limit pays for only part of the search, the GPUs are released there and the rest is not searched. Click Queue job in the confirmation to queue it.
If the job needs sign-off, the button reads Queue for sign-off, and the job waits in the queue until a lead approves it. A cloud job rents nothing while it waits, and the lead sees its total cost. If you have more than one rig, the job is distributed across them automatically.
Rerunning a job with changes
Section titled “Rerunning a job with changes”To try a different attack on hashes you have already worked, find the job in History and click Rerun with changes. The builder opens filled in from that job, with the same hash list, engagement, attack, compute, and limits, so you change only what you need. It is queued as a new job, and the original stays in History. Anything the first run cracked is already in the potfile and is not attacked again.
Rerun with changes is unavailable for a job that has no stored hash list.
Engagement cloud spend caps
Section titled “Engagement cloud spend caps”Rented GPUs cost real money, so every engagement has a cloud spend cap: the most its jobs may spend on cloud GPUs, together and over the engagement’s whole life. Cloud benchmarks of a job’s hash list count against it too. A job on Cloud or Both rents only when its spend limit fits what the engagement has left. While it runs, its whole spend limit is held against the cap, not just its forecast, so a long job’s limit is unavailable to the engagement’s other jobs until it ends. New engagements start with the default cap set in Settings.
When the cap cannot cover a job, nothing is rented. The job stays in Queue marked Not renting, with what the engagement has left and what the job needs, and you are notified if you submitted it. To raise the cap:
- Click Ask for more on the waiting job, or the ask button in the builder summary.
- In Ask for more cloud spend, check Amount to add ($). It starts at what the job is short of; ask for more if later steps will need it.
- Under Reason, say what the money is for. The reason starts with the job’s figures, so the approver sees them whatever you add.
- Click Send request.
Everyone who can approve cloud spend is notified, in ARROW Decrypt and by email. Requests are decided on the Cloud spend page (Spend in the sidebar) by anyone with the Cloud spend permission, Admin and Lead by default, who can approve the amount you asked for or a different one. Once a request is approved, the waiting job starts renting on its own; there is nothing else to do.
A cloud job that stopped at its spend limit or time limit with work left offers to rent GPUs for the rest, under Finish the rest on. That rental is checked against the cap the same way: if the engagement cannot cover it, the job says how much more it needs, and choosing an option the cap refuses opens the same request with the shortfall filled in.
Let it finish on a running job is checked the same way. If the engagement cannot cover the higher limit, nothing changes and the same request opens with the shortfall filled in.
Related documentation
Section titled “Related documentation”- Wordlists - Manage the lists your attacks draw from
- Cloud GPUs - Rent GPUs by the hour for a burst
- Recovered Passwords - Everything the cluster has cracked
- Reports & Trends - Turn results into a deliverable